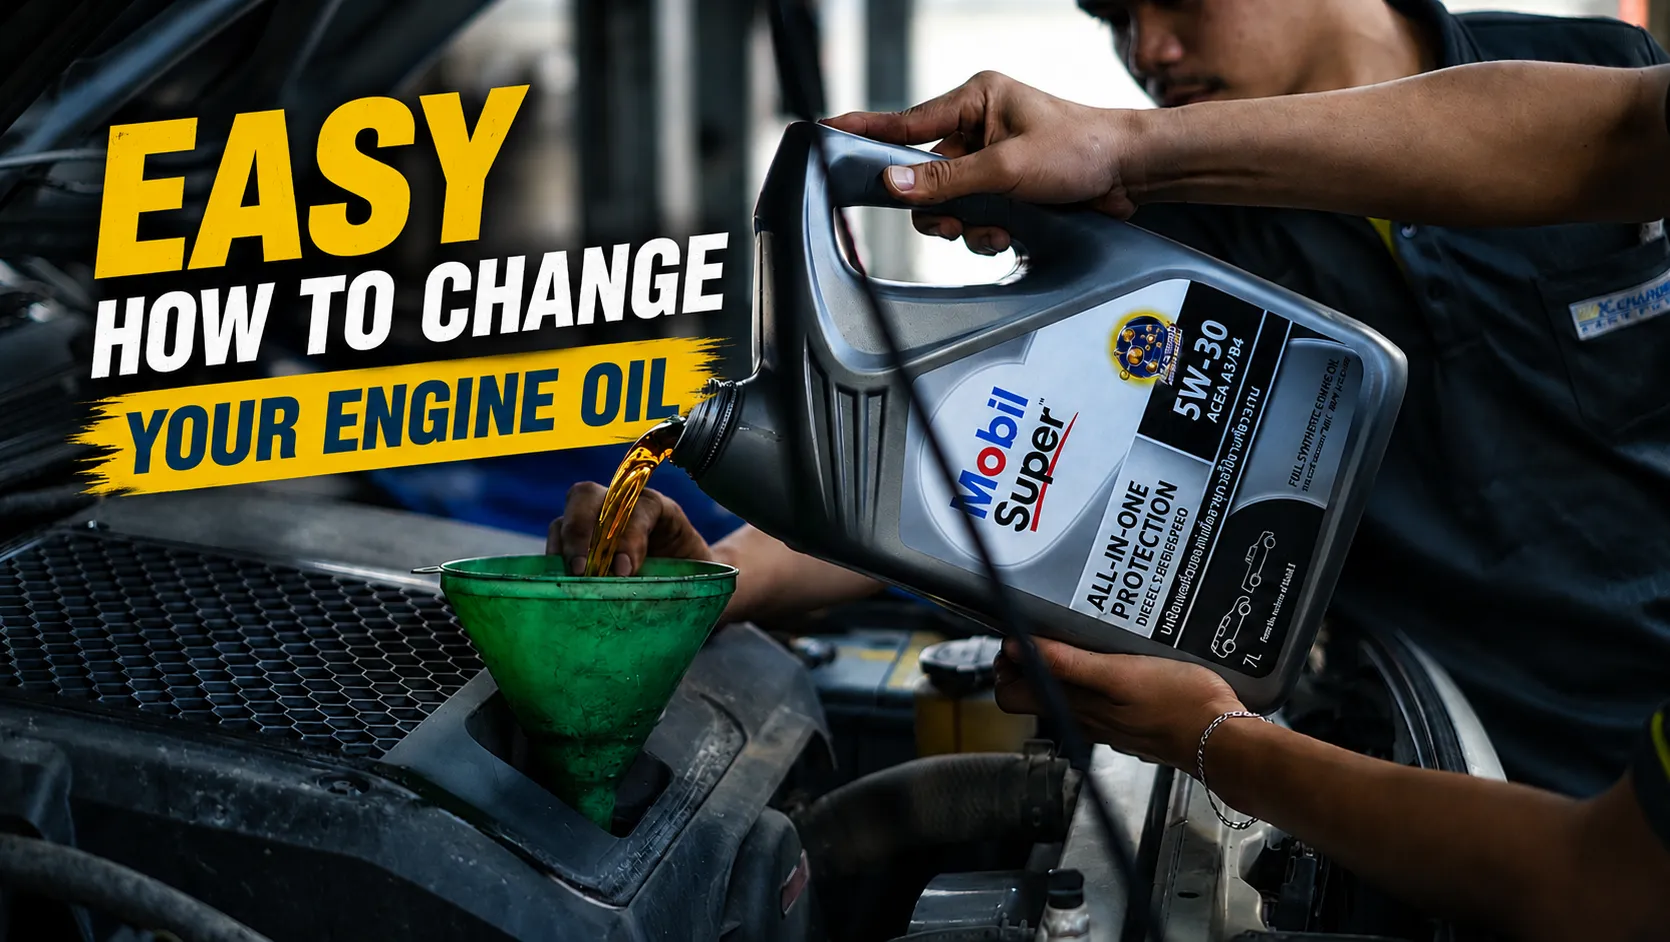
Easy Guide to Changing Your Engine Oil Yourself + Tips to Keep Your Engine Running Smoothly
One of the most important parts of keeping your car in excellent condition and extending the life of your engine is regular engine oil replacement.
Although many drivers prefer visiting service centres for convenience, and others may feel unfamiliar with basic car maintenance, the truth is that changing your engine oil yourself is much easier than many people think.
In this article, we will walk you through every step of changing engine oil properly, in a way that even beginners can confidently follow.
Not only can this help reduce long-term maintenance costs, but it also gives you the opportunity to inspect your engine bay more closely and better understand the condition of your vehicle overall.
Why Every Car Owner Should Change Engine Oil on Time
Your engine can be compared to the heart of your vehicle — it needs proper lubrication to keep all internal components working smoothly and efficiently. That is exactly the role of engine oil.
Ignoring scheduled oil changes, whether based on mileage or time intervals, can gradually reduce engine performance and lead to long-term damage.
If engine oil is not replaced properly and regularly, over time it will begin to:
- Break down and lose efficiency
- Become thicker and more contaminated
- Accumulate dirt, carbon deposits, and metal particles
When this happens, the engine must work harder internally, which may lead to:
- Faster engine wear
- Reduced fuel efficiency
- Higher engine temperatures
- Increased risk of serious engine damage
In severe cases, neglecting oil changes for too long may eventually cause major engine failure and expensive repairs.
Preparation Before You Start: Essential Tools You Need
Before learning how to change engine oil yourself, the first thing you should prepare is the correct equipment and tools.
Having the proper tools ready not only makes the oil change process smoother and easier, but also helps improve safety while working on your vehicle.
Here are the essential items you should have before starting.
1. New Engine Oil
This is the most important component.
Always choose engine oil that matches:
- The viscosity grade
- Manufacturer specifications
- Recommended standards listed in your vehicle manual
Using the correct oil helps maintain proper engine performance and protection.
2. Oil Filter
The oil filter should be replaced every time you change the engine oil.
A new oil filter helps prevent contaminants from circulating inside the engine and keeps the fresh oil cleaner for longer.
3. Drain Plug Washer
A new drain plug washer helps prevent oil leaks after reinstalling the oil drain bolt.
Replacing this small part during every oil change is highly recommended.
4. Wrench or Socket Tools
Most vehicles commonly require:
- 14 mm
- 17 mm
ring spanners or socket wrenches, depending on the vehicle model.
These tools are used to remove the oil drain plug safely.
5. Oil Filter Removal Tool
Oil filters can sometimes become very tight.
Special oil filter removal tools are available in several styles, including:
- Chain-type tools
- Cup-style filter sockets
These make filter removal much easier and safer.
6. Oil Drain Pan
Prepare a drain pan with approximately 4–6 litres capacity to collect used engine oil safely without spills.
7. Oil Funnel
Using a funnel helps pour new engine oil cleanly into the engine without spilling oil around the engine bay.
8. Jack and Jack Stands
If your vehicle requires lifting, always use:
- A proper car jack
- Secure jack stands
to ensure safe working conditions underneath the vehicle.
Safety should always come first during DIY maintenance.
9. Clean Cloths and Gloves
Keep clean cloths and gloves nearby for:
- Wiping excess oil
- Cleaning tools
- Keeping your hands clean during the process
These simple items help keep the workspace safer and more organised.
Step-by-Step Guide to Changing Your Engine Oil Yourself
Once you have prepared all the necessary tools and equipment, the next step is getting started.
In this section, we will walk you through the complete engine oil replacement process step by step. By the end of this guide, you will have a clear understanding of how to change your engine oil safely and correctly by yourself.
You can also read additional guides and manufacturer recommendations for even more accuracy when performing DIY oil changes.
1. Warm Up the Engine First
Start by letting the engine run for approximately 5–10 minutes.
This helps increase the temperature of the engine oil, making it thinner and allowing it to drain out more easily and completely.
However, be careful not to overheat the engine, as extremely hot oil can cause burns while working underneath the vehicle.
2. Lift the Vehicle and Prepare the Workspace
Park the vehicle on a flat surface and firmly engage the parking brake.
Use a car jack to lift the vehicle, then securely place it on jack stands before working underneath.
One important safety rule:
Never work under a vehicle supported only by a jack.
Always use proper jack stands to prevent accidents.
3. Drain the Old Engine Oil
Once the vehicle is safely lifted, locate the oil drain plug underneath the oil pan.
Place the oil drain pan directly beneath the drain plug.
Use the appropriate wrench to loosen the drain bolt carefully. Once the bolt becomes loose, continue turning it by hand until it comes off completely, then allow the old oil to drain fully.
Be cautious during this step, as the engine oil may still be hot.
4. Replace the Oil Filter
While waiting for the old oil to finish draining, remove the old oil filter using the oil filter removal tool.
After removing it:
- Clean the filter mounting surface thoroughly using a clean cloth
- Apply a thin layer of fresh engine oil to the rubber seal of the new oil filter
This helps create a better seal and makes future removal easier.
Install the new oil filter by hand until snug.
Avoid overtightening, as excessive force may damage the rubber seal.
5. Reinstall the Oil Drain Plug
Once the old oil slows down to small drips, replace the drain plug washer with a new one.
Reinstall the drain bolt and tighten it securely, but do not overtighten.
Proper torque is important to prevent both leaks and thread damage.
6. Fill with New Engine Oil
After completing the work underneath the vehicle, move to the engine bay.
Open the bonnet and remove the oil dipstick for cleaning.
Next:
- Open the engine oil filler cap
- Insert a funnel
- Slowly pour in the new engine oil according to the amount specified in the vehicle manual
Using the correct oil quantity is very important for engine performance and lubrication.
7. Check the Oil Level
After filling the oil:
- Reinstall the oil filler cap
- Start the engine and let it idle for 1–2 minutes
This allows the fresh oil to circulate throughout the engine and fill the new oil filter.
Then:
- Turn off the engine
- Wait approximately 5 minutes
Finally, use the dipstick to check the oil level again.
The correct oil level should sit between the MIN and MAX marks on the dipstick.
Conclusion
Although there are many service centres available to handle engine oil changes for you, learning how to change your engine oil yourself can help reduce long-term maintenance costs significantly.
Another important advantage is that you can personally choose high-quality engine oil that best matches your vehicle and driving style.
Spending a little time performing an oil change yourself not only helps your engine operate more efficiently, but also contributes to extending the overall lifespan of your vehicle.
However, if you do not have enough time or are not comfortable performing the oil change yourself, our professional oil change service is always ready to help.
Contact Us
K. Charoen Yangyont Branch
Address: K. Charoen Yangyont (Sukhumvit 91 Branch)
Opening Hours: Monday – Saturday, 8:30 AM – 6:00 PM
Phone: 02 331 9911, 02 331 8882-4
Line: @kc4418
K. Charoen Cockpit Branch
Address: K. Charoen Cockpit (Udomsuk 28 Branch)
Opening Hours: Monday – Saturday, 8:30 AM – 6:00 PM
Phone: 02 393 3356, 086 318 1401
Line: @kcockpit
SHARE THIS STORY
RELATES TAGS
More Post


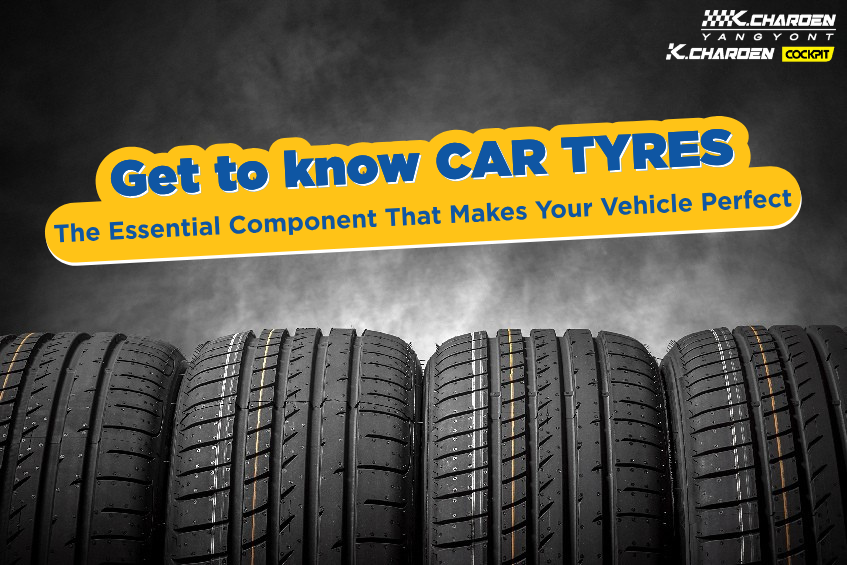
Get to Know Car Tyres: The Essential Component That Makes Your Vehicle Perfect
Read More →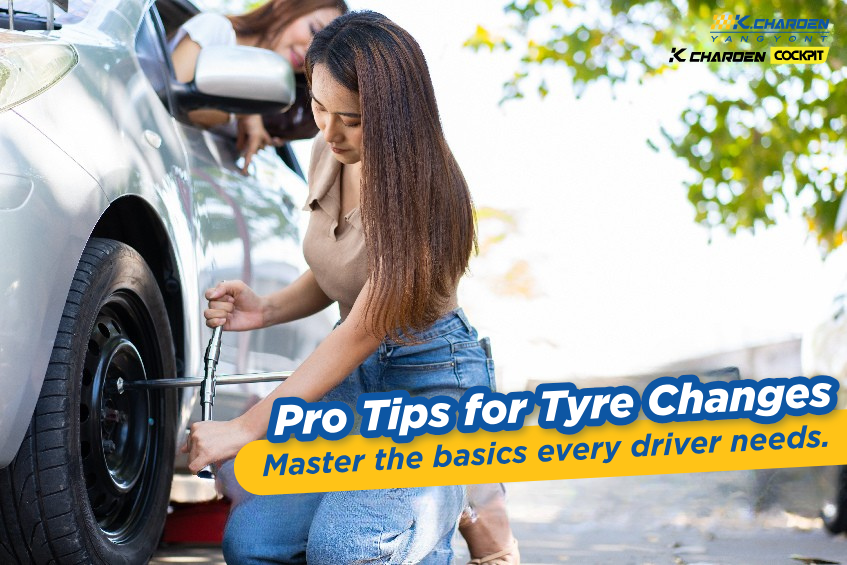
"Wheel Alignment and Balancing Near Me": How to Choose the Right Service for Your Vehicle
Read More →

On-Site Tyre Replacement Near Me by Expert Technicians – Fast Service (K Tyre Express)
Read More →